Celestion Kingston is still the best.......after fixing

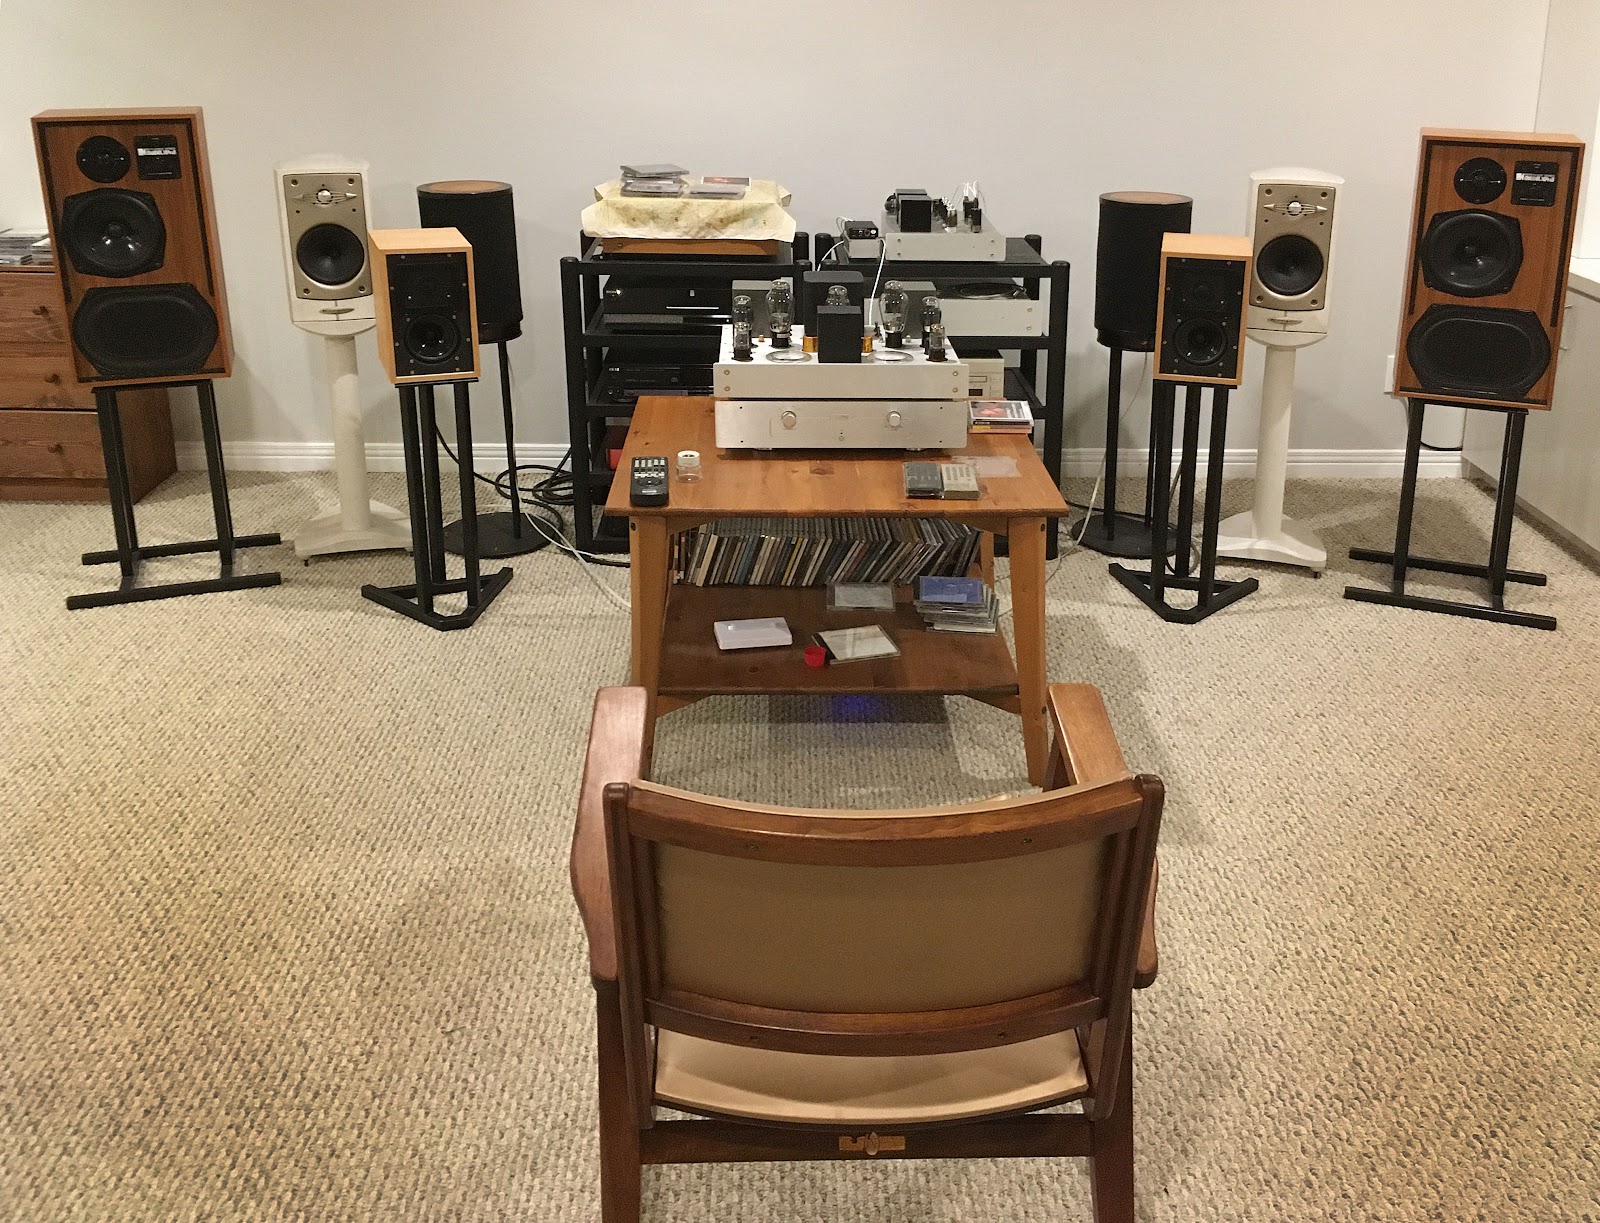
The Celestion Kingston marks the third pair of speakers in my collection, following the Celestion Ditton 33 Series 2 and the KEF 105.3. I've cherished the Kingston for over 30 years, intending to keep it until hearing it becomes impossible.
Due to challenges in finding an optimal listening space and spending most of my time on home renovations, the Kingston has been stored in my basement for the past 3 years. Interestingly, upon revisiting it, I noticed a subtle change in its sound, which initially dampened my enthusiasm for listening.
Now, with a move to a new home boasting a dedicated listening space, I've reignited my passion for audio and embarked on the journey of rebuilding my HiFi system.
Despite owning other speakers, I couldn't shake the feeling that the Celestion Kingston wasn't performing as expected, sounding unusually unmusical. Fueled by determination, I opted to investigate the issue by opening it up.
Upon inspection, I discovered an interesting detail: the tweeter was connected to the speaker front plate rather than the speaker itself. A valuable lesson emerged - caution is needed when dealing with the three screws near the tweeter, as they play a crucial role in maintaining the connection
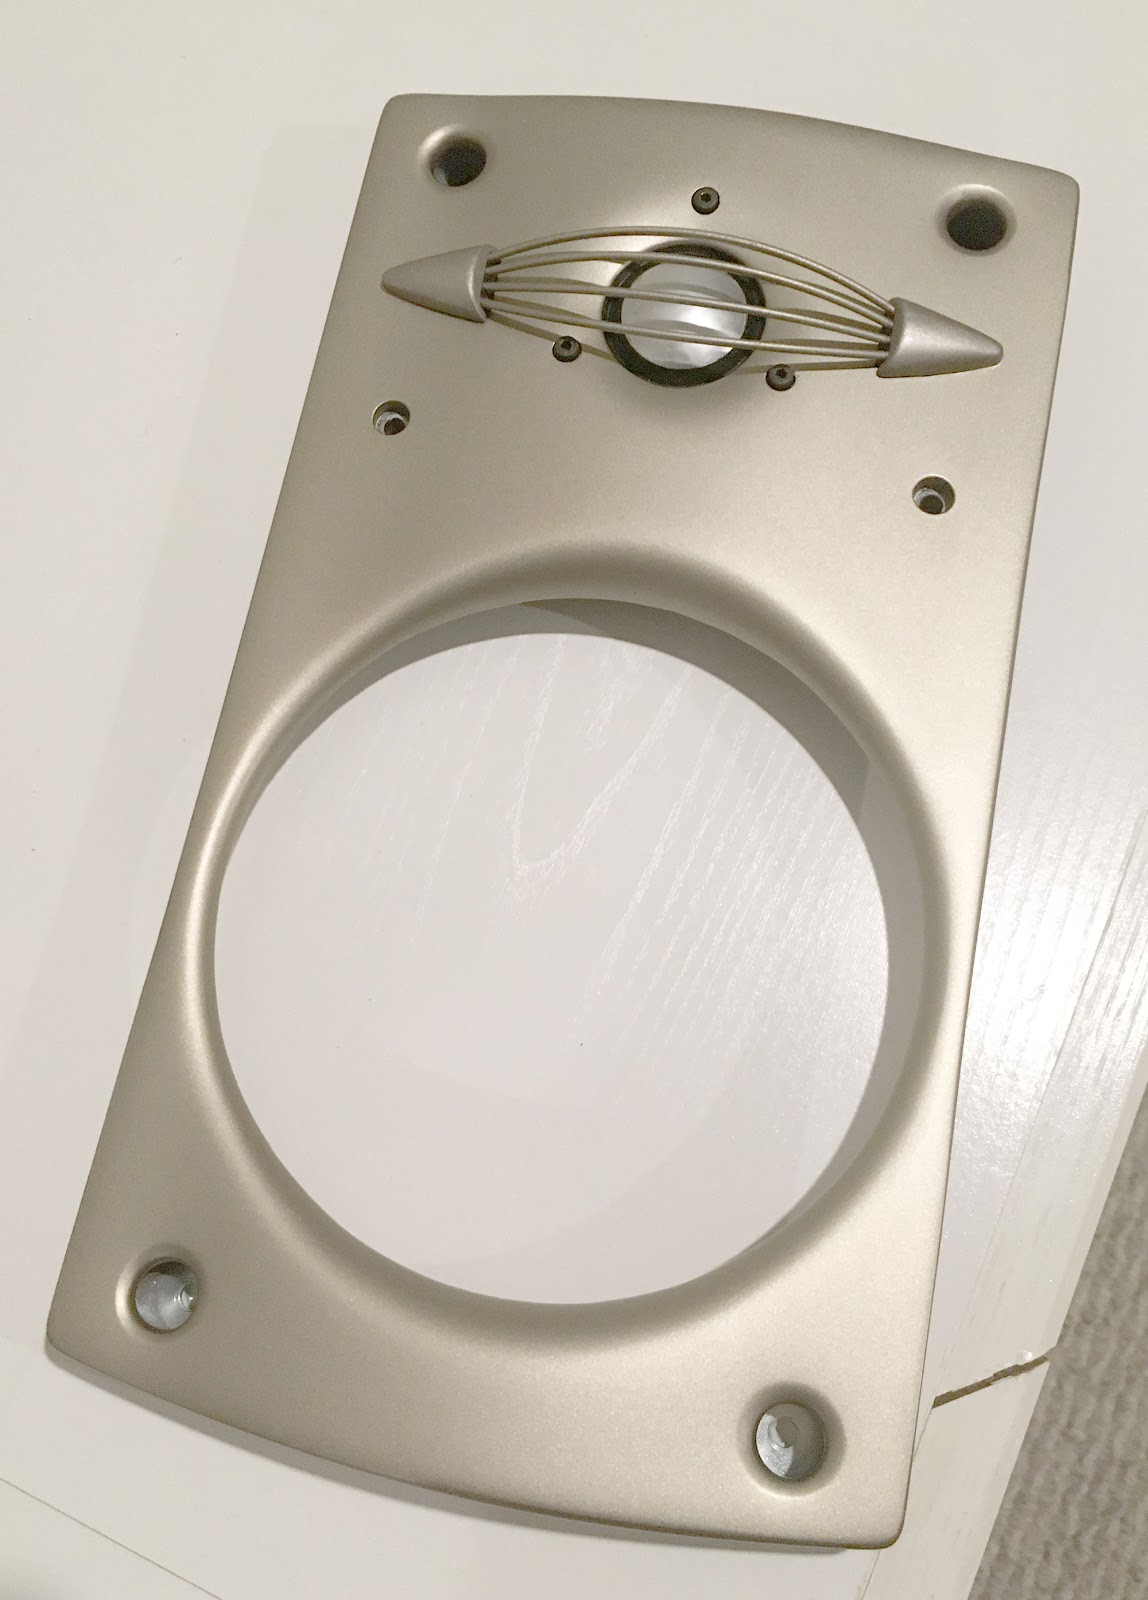
To access the internals, I proceeded to remove the panel by unscrewing the four Phillips screws below the speaker grille socket and the two hex screws between the tweeter and bass speakers. Despite the absence of glue or adhesive on the front plate, it was surprisingly securely attached to the speakers.
In an attempt to loosen the front panel, I placed the speakers face upward and carefully poured a small amount of alcohol between the panel and the housing. After a few minutes, voila, the front panel successfully came loose from the cabinet.
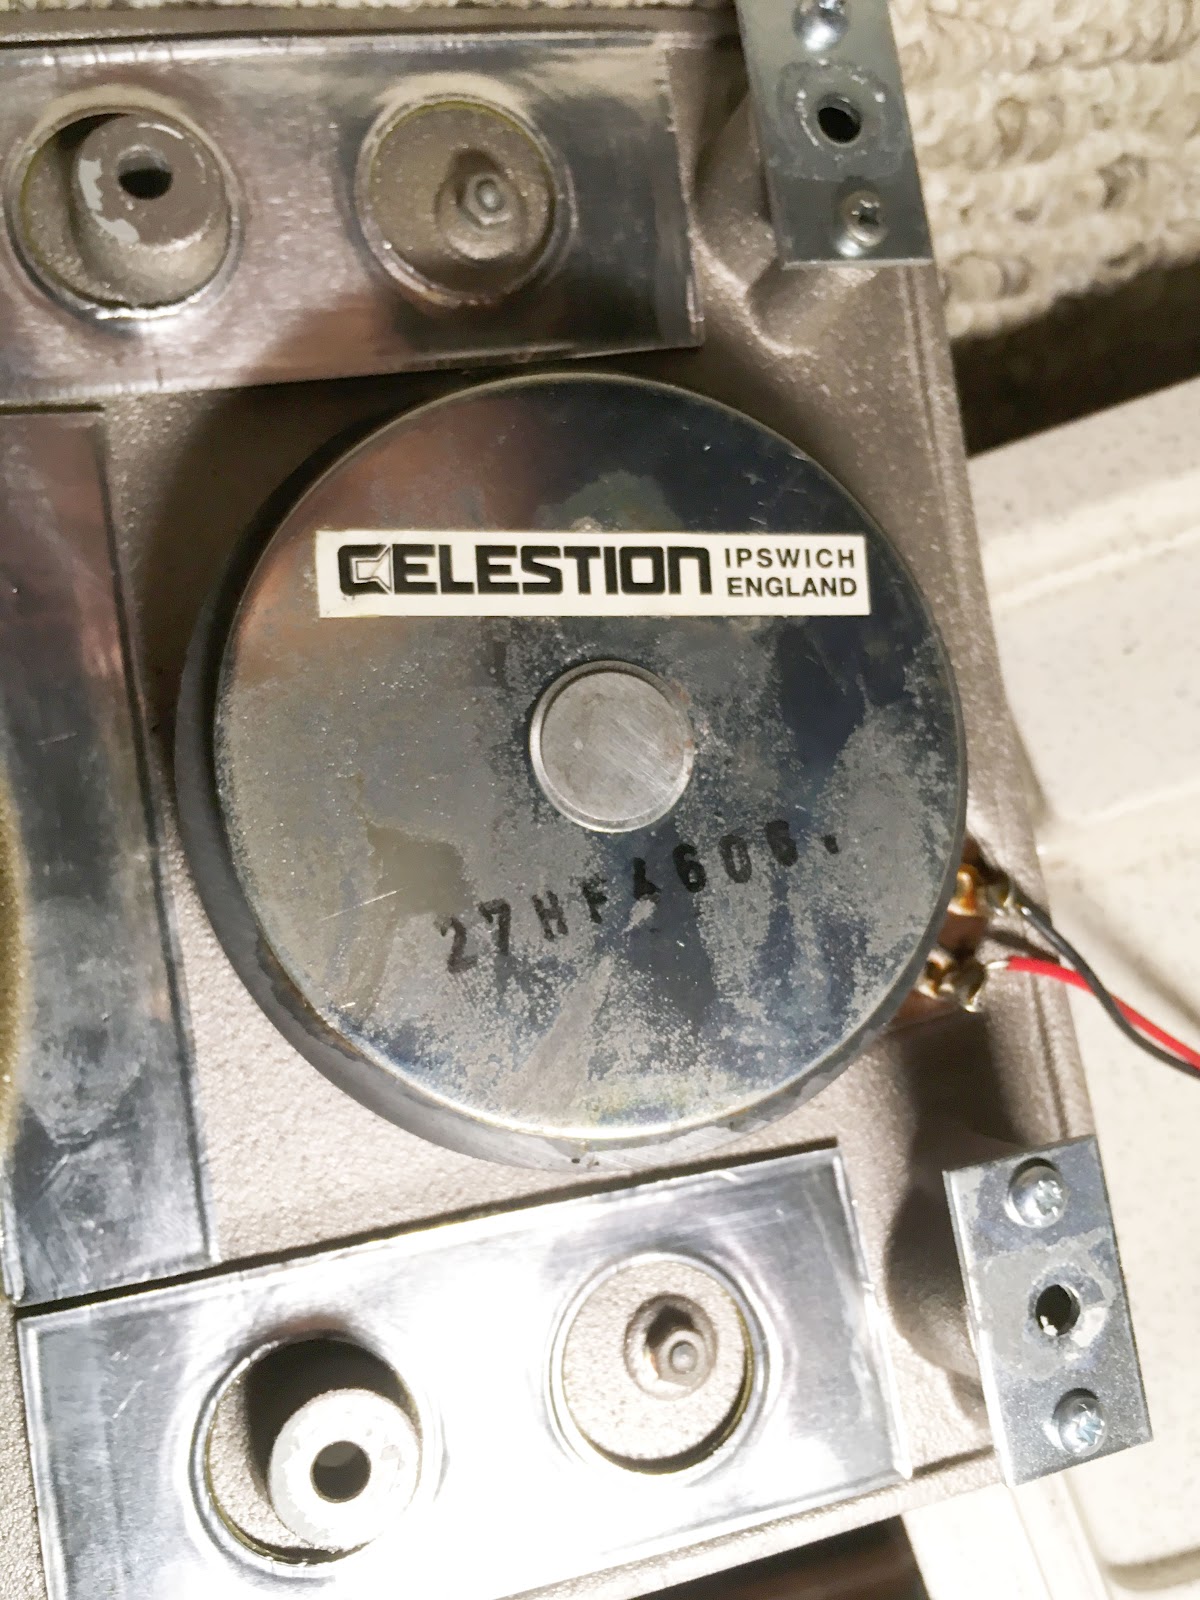
Upon further exploration, I identified the issue with the woofer. Secured by four Phillips screws, I removed the woofer and discovered that part of the rubber surround had separated from the spider. Interestingly, the rubber surround itself was still in good condition, but the glue bonding it had not withstood the test of time after all these years.

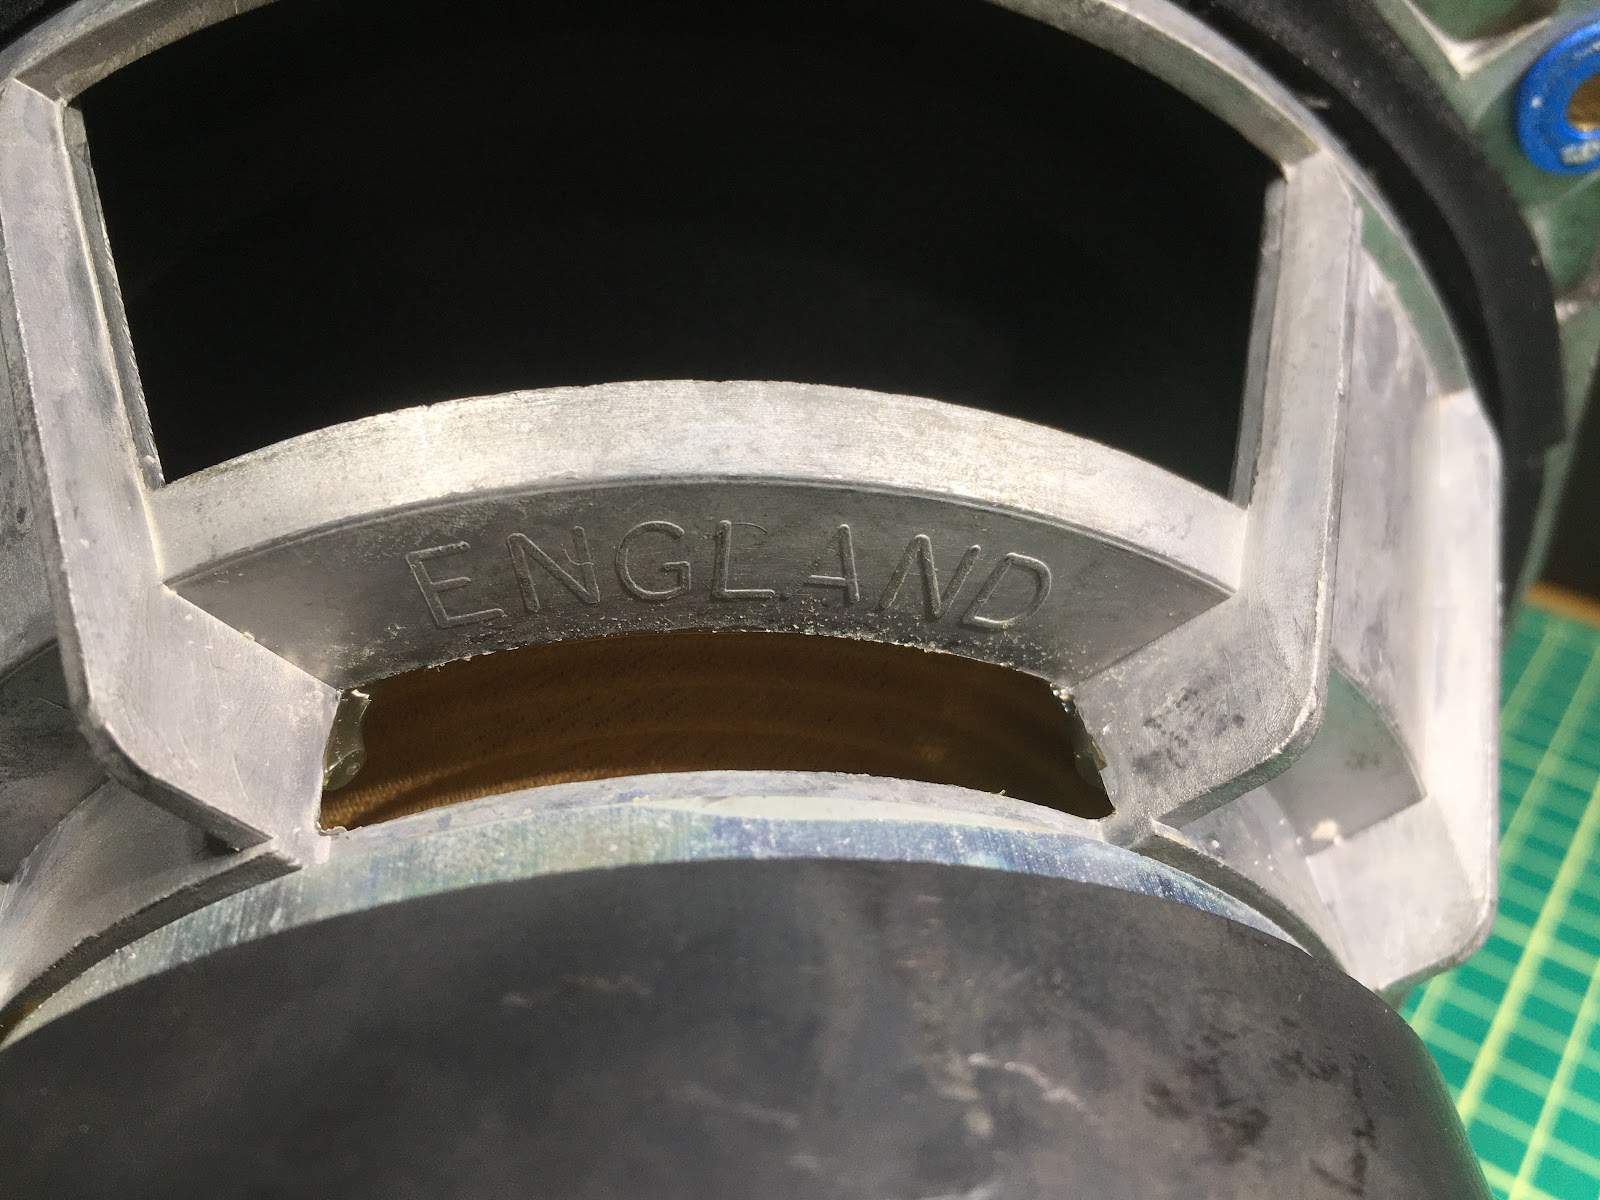
Taking matters into my own hands, I meticulously cleaned the spider and rubber surround with alcohol and adeptly reattached the surround using glue. Seizing the opportunity, I delved into examining the design intricacies of these renowned speakers. The hands-on experience not only resolved the immediate issue but also provided valuable insights into the craftsmanship behind these speakers.
 |
| Cover the spider when soldering the wire |
The crossover of the Celestion Kingston follows a typical two-way speaker design, incorporating all film capacitors (XPP MPK 5%) sourced from Bennic. The internal wiring features single-stranded silver-plated copper wires, showcasing a commitment to quality components and craftsmanship in the construction of these speakers.


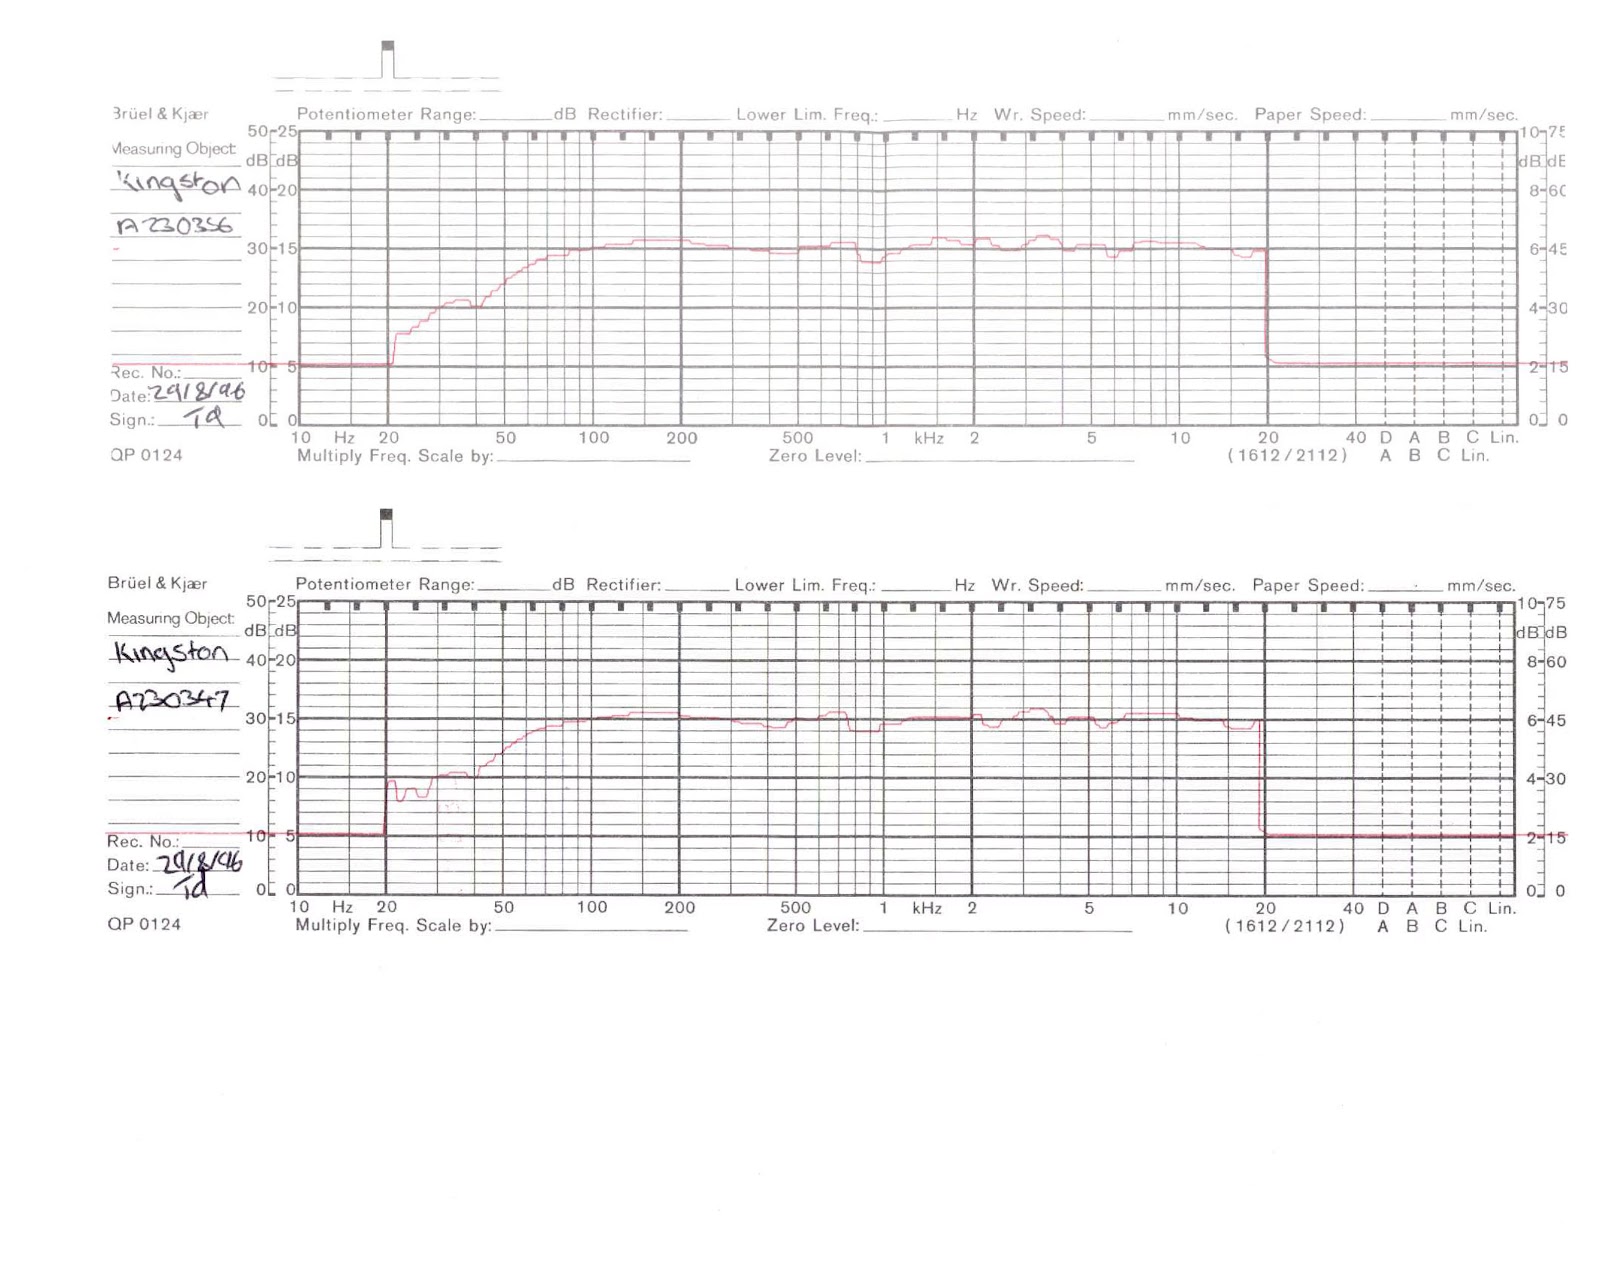
As the original owner, I have diligently preserved all the documents, including the testing results, as well as a bottle of wax liquid (though it has since dried up). These artifacts not only attest to the meticulous care and maintenance of the Celestion Kingston but also serve as a testament to its enduring legacy.

Comments